Do you know that online purchasing has increased faster than ever in recent years, with millions of individuals purchasing things from the comfort of their own homes? Starting an online store has become easier and more economical because of solutions such as WooCommerce. It’s a free WordPress plugin that allows you to transform your site into a fully functional online store.
WooCommerce is an excellent alternative for novices and small businesses due to its user-friendly design, versatility, and unlimited customization options. In this blog, we will go over how to create your own online store step by step using WooCommerce.
What is WooCommerce?
WooCommerce is a WordPress plugin. If you’re unfamiliar with plugins, Woo is software that you may add to your WordPress site. Every Woo store is based on a WordPress site.
Over 43% of the internet’s websites are produced and managed with WordPress, and WooCommerce is the only ecommerce platform created by and for WordPress. Near-unlimited flexibility, precise controls, and over 5,000 developers, agencies, and creative specialists to help you establish, customize, and expand your online store are benefits.
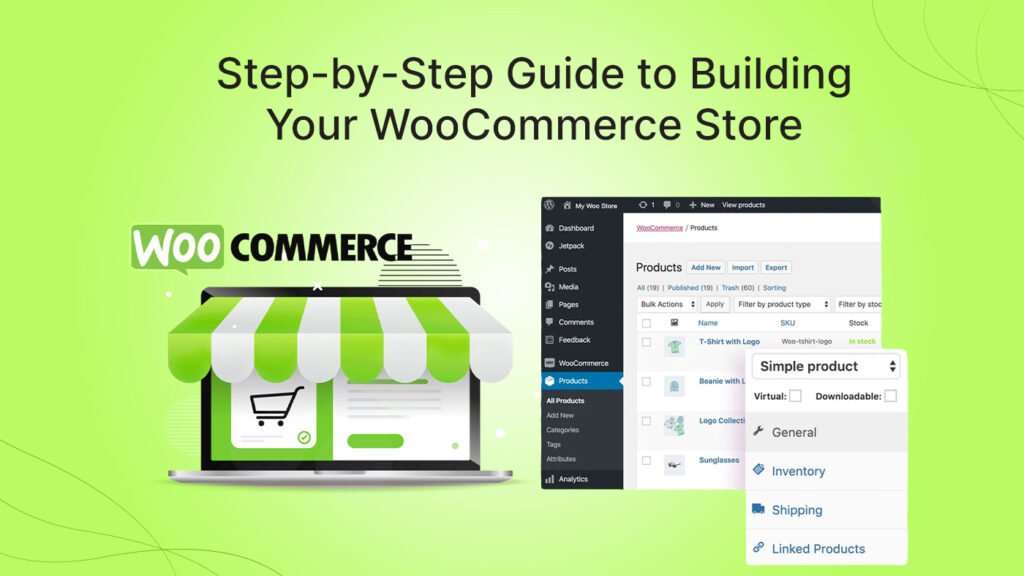
Step-by-Step Guide to Building Your WooCommerce Store
Step 1: Choose a Business Name
The first step in creating an online store is to choose a name for your business. It should be ageless, distinctive for your niche, and, ideally, communicate your brand. Need assistance making a decision? Check out the WordPress company name generator for inspiration.
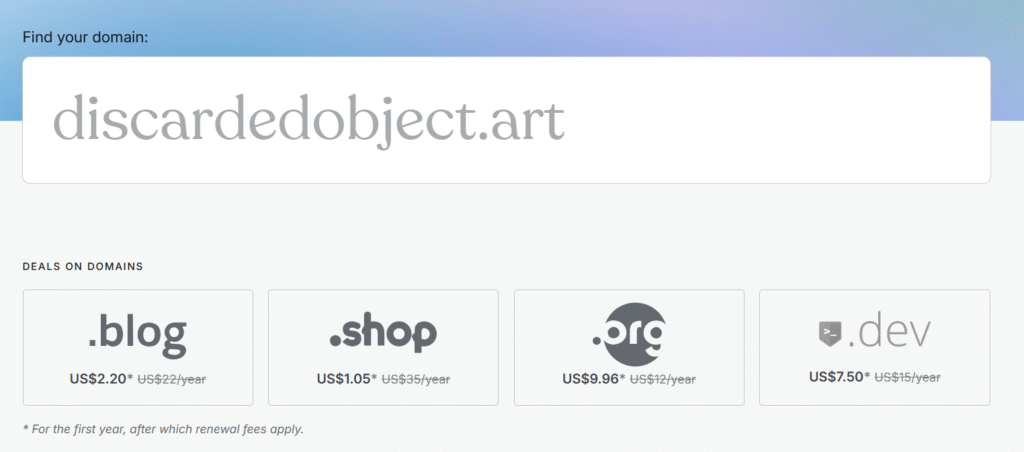
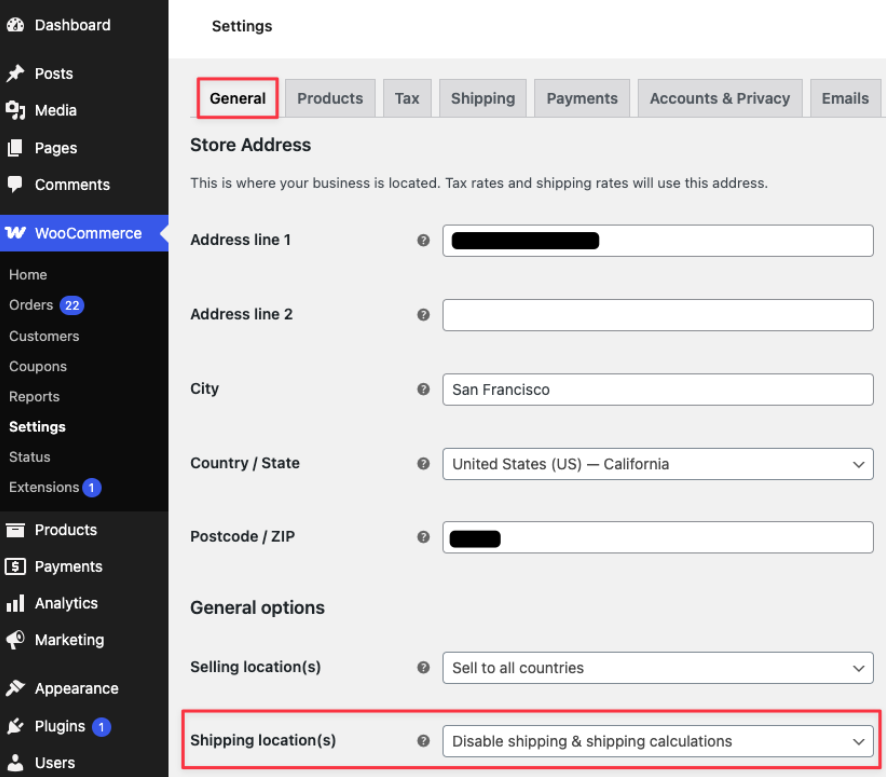
Step 2: Select Hosting Provider
Hosting, where you keep your website’s data, comes in several forms. Starting with a low-cost plan that scales as you grow works. The development of a WordPress or WooCommerce site depends on your hosting.

Managed hosting
Managed hosting involves software installation, upgrades, and more for your online store. This automated approach launches your website without manual connections or downloads.
Self hosting
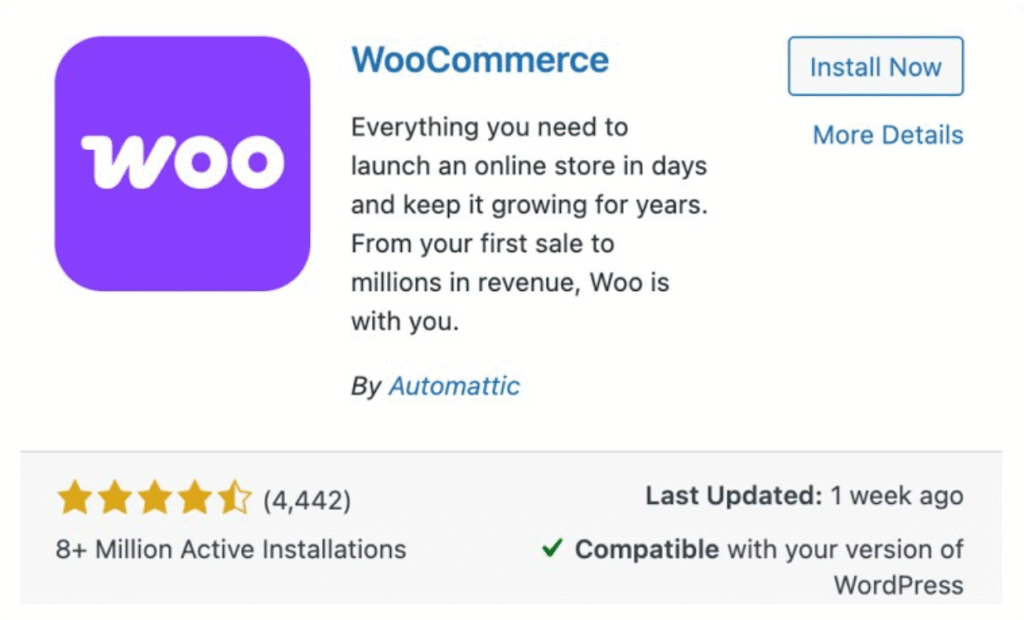
If you self-host your website, you must use a third party like Bluehost or SiteGround. Install WordPress from wordpress.org on your web host after choosing a host. Download and install WooCommerce on WordPress.
Step 3: Run the Woo Setup Wizard.
Once Woo is installed, a Setup Wizard will appear in your WordPress dashboard. The first stage is the store profiler, which prompts you to enter information such as location, industry, and product categories.
Then, the Setup Wizard will walk you through the Store Setup Checklist. It requests information about your products, payments, taxes, shipping, and marketing tools in order to make appropriate recommendations for designing your store.
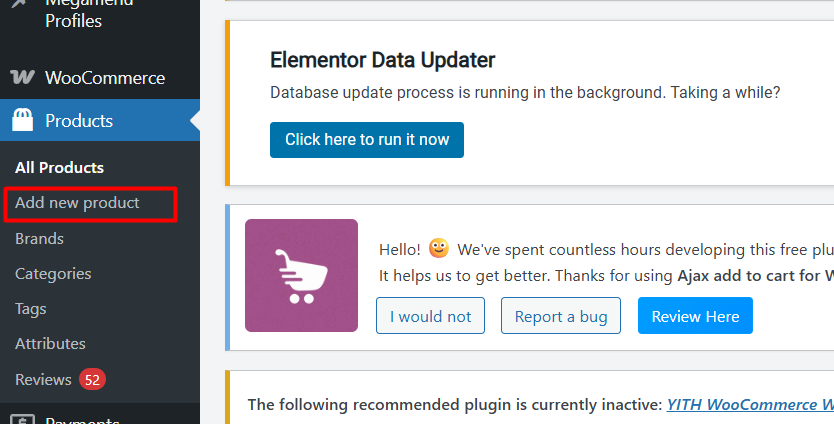
Step 4: Add your Items
The Store Setup Checklist displays a list of the most crucial tasks required to get your store up and operating. First, add your products. Read the section below to determine whether or not your store need more capabilities.
Product Types
Anything you sell with WooCommerce is considered a product. WooCommerce allows you to sell absolutely anything, which is one of the numerous advantages of using an open-source platform.
You may decide to sell a variety of product kinds in your store. Woo allows you to put up six different product types right out of the box.
- Simple
- Variable
- Grouped
- Virtual
- Downloadable
- External or Affiliate
- Subscriptions
- Memberships
- Bundles
- Courses
- Bookings
Categories, tags, and attributes.
Categories, tags, and characteristics allow you to organize your products so that buyers can find exactly what they’re looking for on your website. They can also help enhance order value by displaying groupings of related products.
Product categories and tags can be added, changed, and applied at any time, whether when you initially create a product or after. WooCommerce also allows you to enter product features such as color, size, material, usage, and more. Tags are another technique to associate things. For example, you might enable buyers to search for or filter all products with a cat on them.
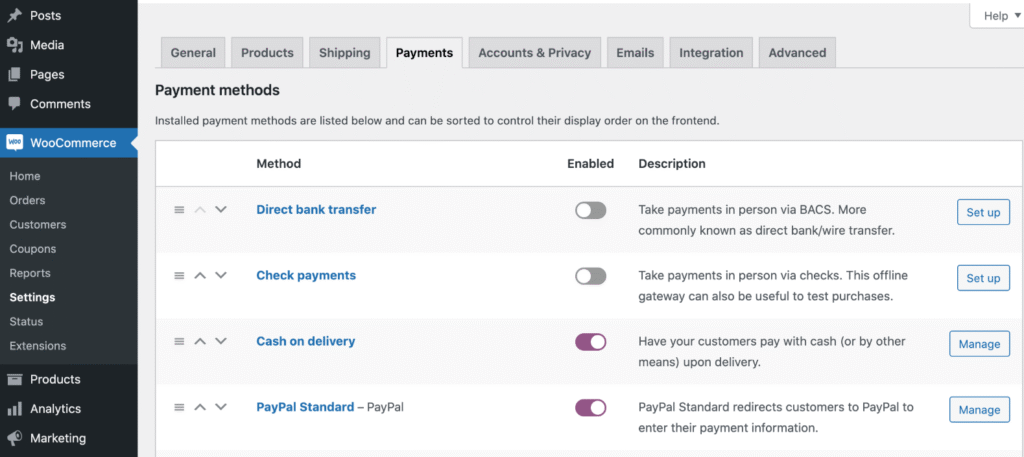
Step 5: Turn on payments
This phase allows you to pick and activate one or more payment acceptance options for your store. The best payment providers for your store vary depending on where you live, where you want to sell your products, and what you sell. We recommend using WooPayments, which offers credit card processing and a range of payment options. Check to discover whether WooPayments is accessible in your country. If so, take the next step and get started now!
Card Payment Processors
Stripe, Square, and Viva Wallet are examples of card payment processors that allow customers to pay with credit or debit.
Alternative payment providers
Customers can pay using alternative payment methods such as PayPal or Amazon Pay, which allow them to use accounts they already have on other platforms. Customers’ trust will be increased, and the checkout process will be streamlined because they will not have to retype their payment information.
Buy now, pay later
Buy now, pay later (BNPL) options like Afterpay, Affirm, and Klarna serve clients who prefer several installments. By 2027, Bankrate expects consumer spending on BNPL options to rise 290%.
Crypto payments
If you’re offering to a tech-savvy clientele, you can accept cryptocurrency payments with Coinbase, HAYVN, and other extensions. Crypto payment systems are also compatible with WooPayments.
Step 6: Set up taxes
We make sales tax collection as easy as possible to reduce the fear. We can answer inquiries concerning tax settings, but we do not give tax, legal, or accounting advice. Always consult a tax professional for transaction-specific advice.
WooCommerce Tax, Avalara AvaTax, manual setup, or avoiding sales tax if exempt are your tax options.
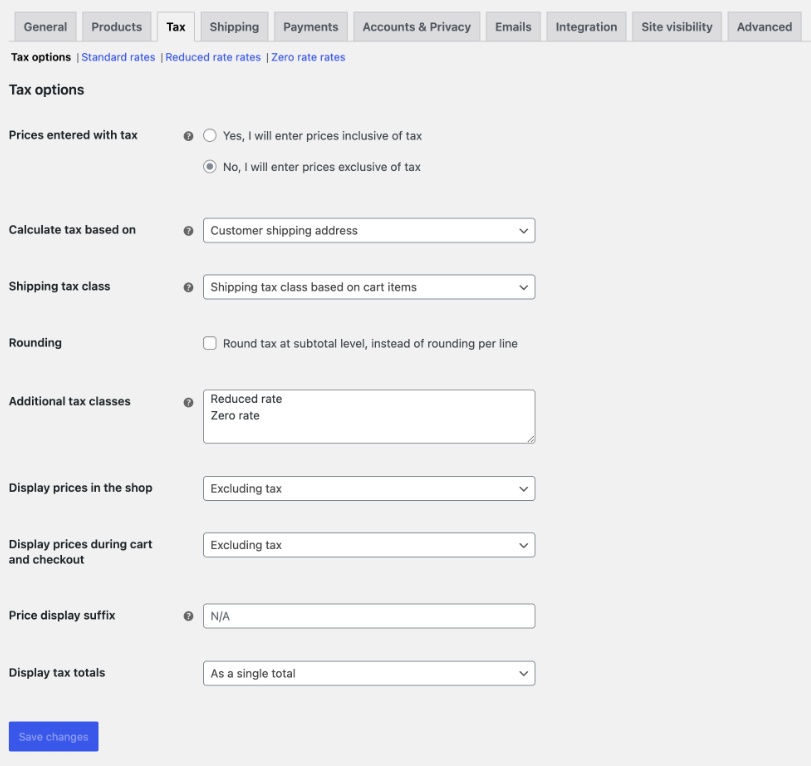
Tax rates vary by client location and are complicated. WooCommerce Tax automates sales tax for an increasing number of countries and is ideal for one tax nexus.
Step 7: Set Up Shipping
If you offer physical things, you’ll want to ensure that they get securely to your clients. Woo allows you to establish different shipping prices based on where your products are going. If you live in the United States, install WooCommerce Shipping for easy label printing and shipping discounts.
If WooCommerce Shipping does not satisfy your demands, we offer a variety of different shipping extensions in the Woo Marketplace. Our handbook includes information on configuring shipping extensions, as well as setting up shipping zones and classes. Once your shipping is set up, you’ll be able to select variable pricing and local pickup.
Step 8: Secure your Website.
Most businesses regard security breaches to be a matter of when rather than if. That threat applies equally to small firms. To keep your site and customer information secure, it’s important to have at least a few protective measures in order:
- Choose a secure, dependable hosting service.
- Get an SSL (secure socket layer) certificate for your website.
- Use reliable plugins and extensions.
- Make sure everything on your WordPress site is up to date.
- Choose a safe username and password.
- Set up two-factor authentication (2FA) for site administrators.
- Set up a spam filter, such as Jetpack Akismet.
- Regularly back up your website.
Step 9: Personalize Your Store
Here are a few things to consider when you get started.
Pick a theme
Your website’s theme determines how your online store appears. When you install Woo, it will automatically install the default theme. You may change this at any time. To change your theme, browse the Marketplace and view the demo sites.
Keep in mind that changing your theme might be a complicated procedure as your site grows in content and products. We recommend using a backup service, such as Jetpack VaultPress Backup, to preserve your data at regular intervals. This way, if your site crashes after a change, you can restore a previous version from a backup.
Add your logo.
Your customers will know your brand and products based on your logo. Consider it your initial impression and an extension of your brand’s voice.
We understand how tough it may be to justify the expense of a bespoke logo, therefore WordPress has teamed with Fiverr to create a logo maker to help you get started. As your firm grows, consider hiring an experienced graphic designer to create a professional logo and brand identification.
Create your main menu.
Even the newest firms must have a few standard pages that clients expect. This contains a homepage, Shop, About Us, Contact, and a page outlining your store’s shipping and privacy rules. Each of these should be properly labeled and easy to locate.
Most websites allow you to view the important pages described above from several locations. This often contains a main menu near the top of each given page, a footer menu at the bottom of each page, and, on occasion, an expanded or sidebar menu.
Breadcrumbs, which indicate the trail of links or categories the client clicked through to reach the present page, may also be used in stores with many subcategories and products.
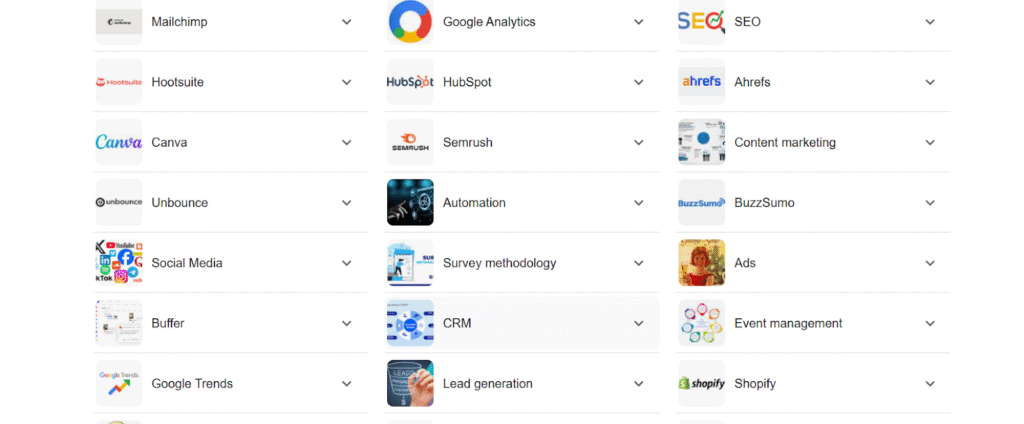
Step 10: Choose Marketing Tools
You’ve developed your store; now promote it. Our Marketplace has useful marketing tool information, including:
Programs:
- AutomateWoo, MailPoet, Google Analytics
- Google WooCommerce
- On social media: Facebook, Instagram, Pinterest
- TikTok
- Trustpilot
Finding the proper marketing channels takes time. Start by targeting your target audience’s preferred channels.
Step 11: Publish Your Website
If you’ve completed all of these tasks, congrats! Launch day is a significant accomplishment, and we’re thrilled that you’ve helped it happen with Woo.
Still Facing Issues
If you are still facing issues, then you can get help from High Stack Solutions to create your WooCommerce store with quick help.

Conclusion
Creating an online store with WooCommerce is a simple and effective method to begin selling products or services from your own website. It’s simple to use, adaptable, and full of strong tools that let you handle anything from adding products to accepting payments. By following the steps in this article, you can create a completely functional store, test it thoroughly, and launch it with confidence. Your WooCommerce store may become a profitable online business with the correct tools, plugins, and a little ingenuity. Maintain consistency, continue to improve, and, if necessary, seek expert assistance from companies such as High Stack Solution Company.
Frequently Asked Questions (FAQs)
Can I use WooCommerce without coding?
WooCommerce is beginner-friendly. You can add products, alter layouts, and manage orders without coding. Its menus and plugins make most features easy for non-technical users. Developers or visual builders like Elementor can customize more.
Are WooCommerce payments secure?
When configured properly, WooCommerce is secure. PayPal, Stripe, and SSL are supported for secure transactions. Recent upgrades and Wordfence plugins boost security. Using a reputable host and best practices provides payment security.
Can I sell digital and physical goods?
Absolutely. WooCommerce sells eBooks, music, and software, as well as tangible goods with shipping and inventory tracking. Built-in settings let you handle both product kinds individually in one store.
Does WooCommerce support dropshipping?
AliDropship and Spocket support WooCommerce dropshipping. Import products, automate order fulfillment, and manage inventories easily. It’s adaptable and scalable, making it ideal for dropshipping startups.
What is the typical WooCommerce store setup cost?
A basic WooCommerce store costs $100–300. Hosting, domain, premium themes, and plugins cost money. Since WooCommerce is free, you may adjust your expenditure to fit your budget.